
Blog
How to Use a Stencil Without Paint Bleed
(Spray Paint vs Brush vs Sponge – Pro Tips That Actually Work)
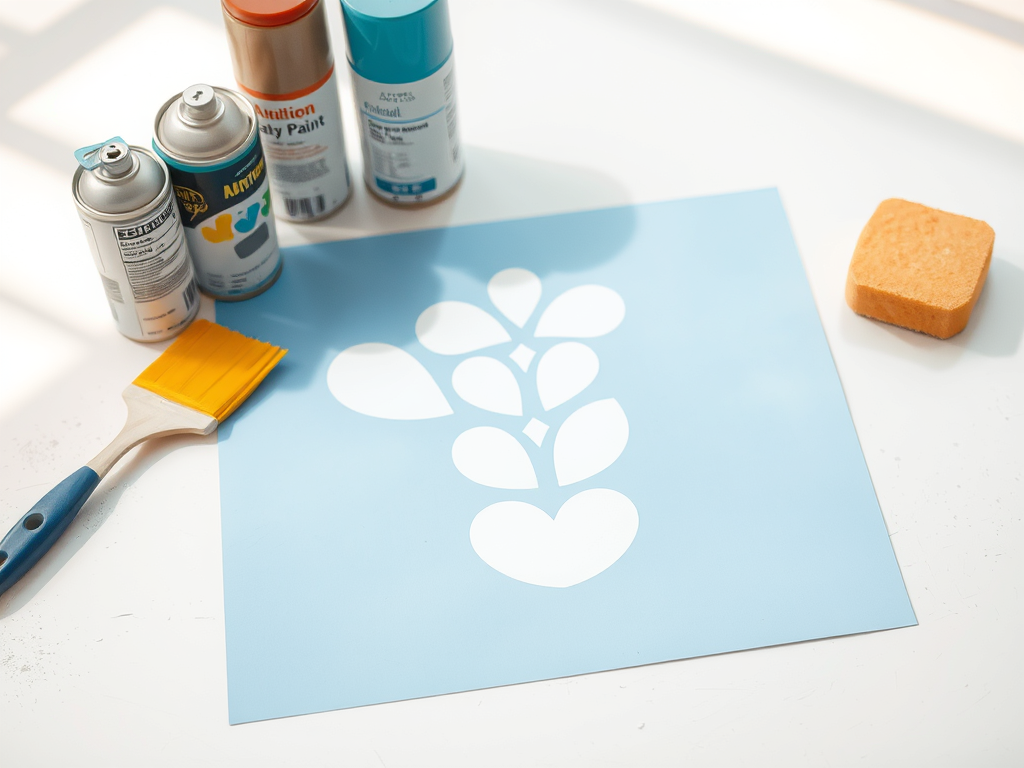
Paint bleed is the #1 problem people have with stencils — especially on walls, wood, fabric, and textured surfaces. The good news: crisp stencil results are easy once you understand why bleeding happens and how to change your method depending on whether you’re using spray paint, a stencil brush, or a sponge.
This guide will show you the exact steps to get clean lines with a reusable stencil.
Why Paint Bleed Happens (Simple Explanation)
Paint bleed happens when paint gets pushed under the stencil edge. That usually comes from one of these:
- Too much paint (heavy coats / wet paint)
- Stencil not fully flat or not secured
- Spraying too close or at the wrong angle
- Brushing side-to-side (forces paint under edges)
- Textured surfaces (paint finds tiny gaps)
- Paint too thin or too watery
The golden rule:
✅ Multiple light layers beat one heavy layer every time.
Before You Paint: 5 Steps That Prevent Bleed on Any Surface
1) Clean and Dry the Surface
Dust, oil, and moisture cause lifting and seepage. Wipe the surface and let it dry fully.
2) Make the Surface Smooth (When Possible)
On raw wood, lightly sand and wipe dust away. On walls, remove bumps or texture where possible.
3) Secure the Stencil TIGHT
Use one of these:
- Painter’s tape (best all-around)
- Repositionable spray adhesive (strong hold)
- Low-tack adhesive + tape combo for big stencils
- Magnets (metal surfaces)
Press down all edges, especially small details and corners.
4) Use the Right Amount of Paint
Less paint = cleaner lines.
5) Remove the Stencil at the Right Time
Remove while paint is still slightly wet (not fully dry and not dripping). This reduces tearing and pulling.
Method 1: Spray Paint Stenciling Without Bleed (Best for Walls & Big Areas)
Spray paint is fast and clean when done correctly — but it’s also the easiest way to cause overspray and bleed if you spray too heavy.
Spray Paint Settings That Work
✅ Distance: 8–12 inches away
✅ Motion: quick passes, keep moving
✅ Coats: 2–5 light coats (not 1 heavy coat)
✅ Angle: spray straight-on, not sideways under the edge
Step-by-Step
- Tape down stencil and press edges firmly
- Shake the can well
- Spray a very light mist coat first
- Wait 30–60 seconds
- Add another light coat
- Repeat until coverage looks solid
- Remove stencil carefully
Pro Trick: “Tack Coat”
The first ultra-light coat helps “seal” edges before heavier coverage.
Avoid This
❌ Spraying too close
❌ Holding the can in one spot
❌ Heavy wet layers (they pool and bleed)
Method 2: Stencil Brush Without Bleed (Best for Detail & Rustic Looks)
If you use a brush the wrong way, it will bleed. The fix is simple:
✅ Never brush side-to-side.
✅ Use a pouncing/dabbing motion.
What You Need
- Stencil brush (short stiff bristles)
- Paper towel
- Paint (not watery)
Step-by-Step “Pounce” Method
- Dip brush lightly into paint
- Offload most paint onto a paper towel (brush should feel almost dry)
- Dab/pounce straight down through the stencil
- Build coverage slowly with multiple passes
- Remove stencil
Avoid This
❌ Wet brush
❌ Long strokes
❌ Thin paint (it creeps)
Method 3: Sponge Stenciling Without Bleed (Best for Beginners)
A sponge is forgiving and great for clean coverage — especially on furniture and walls. Like brushing, the key is less paint and a dabbing motion.
Step-by-Step
- Put paint on a palette or plate
- Dab sponge into paint
- Dab on paper towel until it’s not wet
- Dab straight down onto surface
- Build coverage with multiple light dabs
- Remove stencil
Avoid This
❌ Using a soaked sponge
❌ Smearing across edges
❌ Thick pools of paint
Best Paint Types for Clean Stencil Edges
Walls (Interior)
- Acrylic paint (brush/sponge)
- Spray paint (light coats)
- Matte or satin finishes usually look best
Wood Signs / Furniture
- Acrylic craft paint
- Chalk paint (great coverage, can bleed less if applied lightly)
- Seal wood first if it’s very porous
Fabric
- Fabric paint (best)
- Heat-set if required by the paint brand
Tile / Glass
- Paint designed for those surfaces + proper prep/seal
How to Get Clean Lines on Textured Walls (Brick, Stucco, Orange Peel)
Textured surfaces are harder because the stencil can’t lay perfectly flat. You can still get good results:
- Use repositionable spray adhesive (helps stencil hug the texture)
- Use a dry brush or sponge (not wet)
- Use very light spray coats
- Expect slightly softer edges (normal on texture)
Pro option: Use a thicker stencil material and press firmly into grooves where possible.
Troubleshooting Paint Bleed (Fast Fixes)
“My edges are fuzzy.”
- You used too much paint or the stencil lifted. ✅ Use lighter coats + secure edges better.
“Paint went under the stencil in one area.”
- That area wasn’t flat. ✅ Press it down harder, add tape, or use adhesive.
“My paint bled on raw wood.”
- Wood soaked paint under the stencil. ✅ Seal wood first (clear coat), or use drier brush/sponge.
“Spray paint looks dusty.”
- You sprayed too far away or too lightly. ✅ Slightly closer, more light coats, keep motion consistent.
Quick Cheat Sheet: Which Method Should You Use?
Spray paint: best for walls, big stencils, fast coverage
Stencil brush: best for detail, vintage/rustic signs, controlled shading
Sponge: easiest for beginners, smooth coverage, clean results
Final Tips for Perfect Stencil Results
Use light layers
Keep paint drier than you think
Secure the stencil completely
Use the correct motion: spray passes / pounce / dab
Remove stencil carefully while paint is slightly wet
If you want professional results with fewer headaches, use a reusable 10 mil Mylar stencil — it stays flat better than paper stencils, holds crisp edges, and lasts for many projects.
 Iconic Logos
 Christmas